By Paula Shoyer
The holiday of Shavuot is just around the corner (June 9-10). French trained chef and best-selling cookbook author Paula Shoyer is offering contemporary and delicious recipes.
Unique to Shavuot is the often lavish and sometimes challenging dairy menu. As always, Shoyer is sensitive to those who limit their lactose, calorie and gluten intake.
Paula suggests a holiday menu with a variety of recipes and a smidge of indulgence.
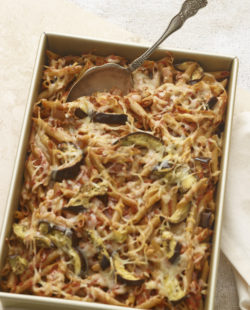
1) Pasta Siciliana
2) White Chocolate Mousse Cake
3) Mini Cheesecake Muffins with Oat and Brown Sugar Crust and Strawberry Puree
For more gluten, dairy and low-sugar recipes, check out Paula’s newest cookbook, The Healthy Jewish Kitchen.
For more Shavuot recipes, visit
https://orjewishlife.com/shavuot-recipes-from-kosher-com/
Photograph by Bill Milne
Pasta Siciliana (dairy)
Serves 6 to 8
This is a dish that my husband, Andy, and I absolutely loved eating while living in Geneva, Switzerland – fried eggplant slices stirred into penne pasta with a garlicky tomato sauce and then covered in cheese and baked. Here is my healthier version using baked eggplant and whole-wheat pasta. You can use this method of baking eggplant in any recipe that calls for fried eggplant.
Prep Time: 15 minutes Cook Time: 1 hour 20 minutes (may be made 2 days in advance and frozen)
Ingredients
4 tablespoons extra virgin olive oil, divided
2 large eggplants, stem and bottom trimmed, and cut into ½- to ¾-inch (12-mm to 2-cm) circles and then into ½- to ¾-inch (12-mm to 2-cm) long strips.
1 medium onion, chopped into ½-inch (12-mm) pieces
10 cloves garlic, roughly chopped
½ teaspoon dried oregano
½ teaspoon dried basil
¼ teaspoon black pepper
Pinch sugar
¼ to ½ teaspoon red pepper flakes, to taste
½ teaspoon salt
28-ounce (795-g) can crushed tomatoes
1 pound (450g) whole-wheat penne pasta
8 ounces (225g) shredded mozzarella cheese
Preheat oven to 450°F (230°C). Place 1 tablespoon of oil on each of 2 jelly roll pans. Use an offset spatula or your hands to entirely coat each of the pans.
Divide the eggplant slices between the 2 pans, leaving a little space between the slices. Bake the eggplant for 25 minutes. After 15 minutes, switch the pans on the racks, to ensure even browning.
To make the sauce, place the remaining 2 tablespoons of oil into a medium saucepan and heat it over medium heat. Add the onions and cook for 5 minutes, stirring occasionally. If the onion starts to color, turn down the heat. Add the garlic and cook for 5 minutes, stirring occasionally. Add the oregano, basil, pepper, sugar, red pepper flakes, and salt, and stir. Add the crushed tomatoes and bring the mixture to a boil over medium-high heat. Reduce the heat to low. Cover the pan and simmer the sauce for 25 minutes.
After 25 minutes of roasting, turn over the eggplant strips and roast them for another 5 to 10 minutes, until they are fork-tender and browned. Cook the pasta al dente, according to the directions on the package, and then drain it; do not overcook the pasta.
Preheat the oven to 400°F (200°C). Place the pasta in a 9 x 13-inch (23 x 33-cm) baking dish. Add the baked eggplant slices and sauce and mix well. Cover the pan with foil and bake the eggplant for 40 minutes. Uncover the pan and sprinkle the cheese on top. Bake uncovered for another 5 minutes.
White Chocolate Mousse Cake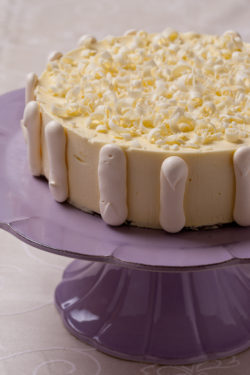
Makes one 8-inch cake, 12 servings
Meringue
4 large egg whites, at room temperature one hour
2/3 cup sugar
2/3 cup confectioners’ sugar
Mousse
8 ounces white chocolate broken into 1-inch pieces
5 large egg yolks
1 ½ cups whipping cream
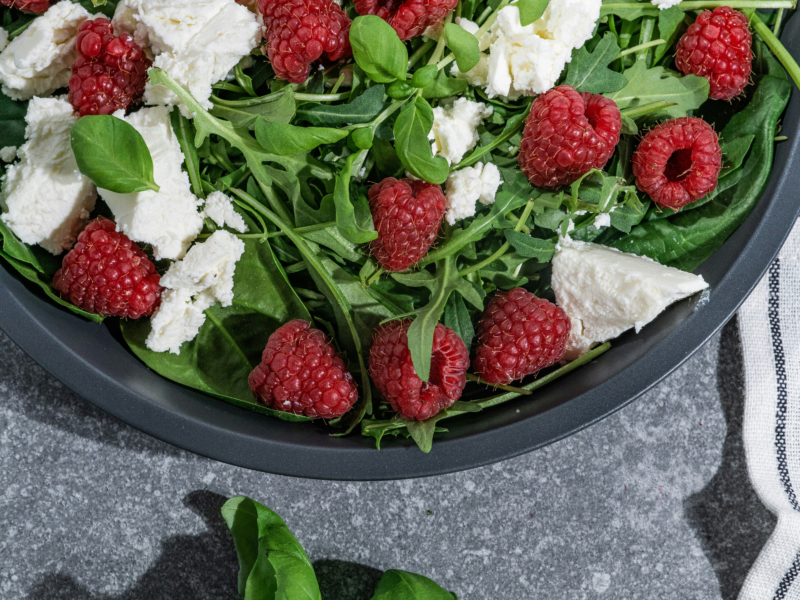
Raspberry Sauce
6 ounces fresh raspberries
2-3 tablespoons confectioners’ sugar, to taste
2 tablespoons hot water
2-4 ounces white chocolate to decorate, if desired
Instructions
Preheat oven to 230°F. Cover two cookie sheets with parchment paper trimmed to fit perfectly on the pan bottom. Take an 8 x 2 1/2 -inch high dessert or flan ring (no bottom) and trace three circles on the parchments. Turn the papers over and place on your cookie sheets. Set aside.
To make the meringue: In the bowl of an electric mixer, beat the egg whites on medium-high speed until you have soft peaks. Turn the mixer to low and add the granulated sugar, a tablespoon at a time, waiting until each addition is mixed in before the next addition. Turn the speed up to high and beat another minute. Sift the confectioners’ sugar into the egg whites. Turn the machine to low and mix briefly to combine.
Fit a pastry bag with a 1/4-inch round tip. Fill with the meringue batter. Starting from the center of the drawn circles, squeeze out spirals until your circle is about 1/2 an inch smaller than the drawn circle. If you do not have a pastry bag, use a silicone spatula to shape three circles of meringue batter.
Squeeze out any leftover batter into small circles, about an inch wide, and then lift up, like Hershey’s kisses, to decorate the cake later, if desired. Place in the oven, turn down the temperature to 220°F and bake for two hours. Turn off the oven and let the meringues remain in the oven another two hours to dry out. May be made two days in advance and stored uncovered at room temperature.
To make the sauce, place the raspberries into the bowl of a food processor fitted with a metal blade and purée, scraping down the sides of the bowl until all the fruit pieces are puréed. Add the water and sugar and mix. Taste and add more sugar if the mixture is too tart. Use a sieve to strain out the seeds and discard. May be made two days in advance and stored covered in the fridge.
To make the mousse: Melt the white chocolate either in a double boiler or in the microwave oven for 45 seconds, stir, 30 seconds, stir, and 15, seconds, stir, until melted and smooth. Add the egg yolks one at a time and whisk well. In a large bowl, with an electric mixer on high speed, beat the whipping cream until stiff. Fold the whipped cream into the white chocolate mixture and mix until well blended.
To assemble the cake, you will need an 8-inch cardboard circle. If the circle is larger than your ring, trace your ring and then cut out the circle. Line a cookie sheet with parchment paper, place the ring on top, and place the cardboard circle into the ring. Place a tablespoon of the mousse on the cardboard to glue the meringue circle in place. Place one of the meringue circles in the ring. Pour a third of the mouse into the ring to cover the meringue. Make sure you get some mousse on the sides between the meringue and the ring. Add the second meringue circle and another 1/3 of the mousse. Repeat with the last meringue circle and more mousse and then use a metal flat blade spatula to smooth the top, reserving any extra mousse in a small bowl in the refrigerator to decorate the top, if desired. Place into the freezer for four hours or overnight.
Remove from the freezer. To remove the ring, place the cake (with the cardboard bottom) on top of a large can of tomatoes or vegetables. Place boiling water in a small bowl. Take a towel or paper towel, dip it into the hot water, and then rub around the outside of the ring; this will help release the ring from the mousse. Go around the entire ring with the hot towel. Take your hands and gently slide the ring down off the cake. Place the cake on the parchment-lined cookie sheet.
To decorate the cake, use a vegetable peeler to scrape white chocolate curls on top of the cake or use any leftover mousse in a pastry bag with a decorative tip. Store cake in the freezer and then remove five minutes before serving to cut perfect slices. To serve, spoon some raspberry sauce on your serving plate and place the cake slice on top. Store in the freezer for up to three months.
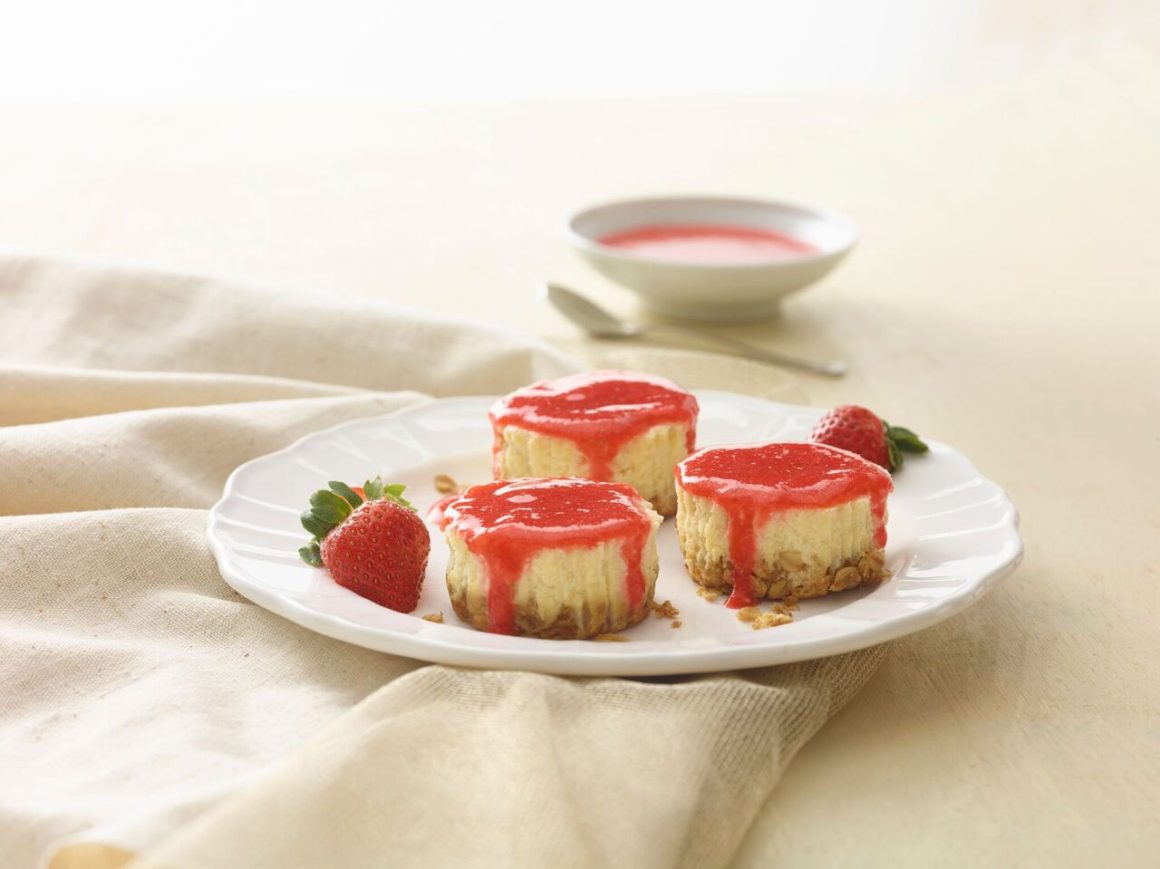
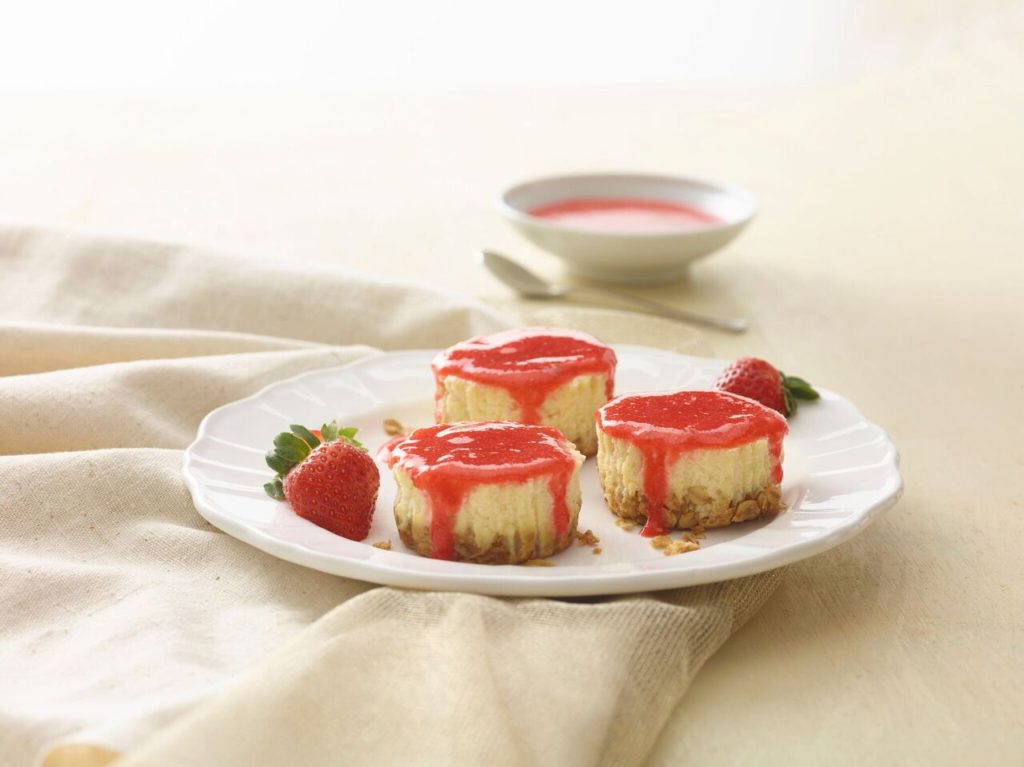
 Mini Cheesecakes Muffins with Oat and Brown Sugar Crust with Strawberry Puree
Dairy & gluten-free with gluten-free oats
Serves 12
I truly love cheesecake, especially New York style, made only with cream cheese. These minis are lower in sugar than most cheesecakes, and they are gluten-free if you use gluten-free oat flour for the crust. Ricotta cheese pumps up the calcium content. I tried to make this recipe with lower fat cream cheese and ricotta, but the results were not satisfactory. The idea behind the mini cheesecakes was portion control, but I found myself grabbing them all day long, so I had to take extreme measures and freeze most of them to get them out of easy reach. I particularly like the buttery oat crust, which you could also use as a pie crust.
Prep Time: 8 minutes; 4 hours to chill, 3 minutes for strawberry sauce
Bake Time: 10 minutes to bake crust, 25 minutes for cheesecake (may be made 3 days in advance or frozen (crust not as crunchy after freezing)
Cheesecake
1 8-ounce (225-g) package cream cheese, at room temperature
3 large eggs
1/3 cup (65g) sugar
1 tablespoon gluten-free oat flour or other flour
2 teaspoons lemon zest (from 1 lemon)
1 teaspoon pure vanilla extract
1 cup (245g) whole milk ricotta cheese
Fresh strawberries, or other berries for garnish (optional)
Crust
4 tablespoons (56g) unsalted butter
3 tablespoons (40g) light brown sugar
1 cup gluten-free oats (90g) (not quick-cooking kind)
2 tablespoons (12g) gluten-free oat flour or other flour
¼ teaspoon salt
Strawberry Puree
2 cups (290g) trimmed fresh strawberries
1 tablespoon confectioners’ sugar
Preheat the oven to 350°F (180°C). To make the crust, place paper liners in a 12-cup (2.8L) muffinp an. Place the butter in a medium microwave-safe bowl and microwave for 1 minute, or until the butter melts. Add the brown sugar and mix well. Add the oats, oat flour, and salt and mix well. Place a heaping tablespoon of the mixture into each of the liners in the muffin pan and press it down. Use all of the oat mixture. Bake the crusts for 10 minutes, or until the edges start to color.
Meanwhile, to make the filling, place the cream cheese in a large bowl. Beat it with an electric mixer on high speed until it is very smooth, scraping down the bowl a few times. Add the eggs into the cream cheese,1 at a time, and beat them in. Scrape down the sides of the bowl. Add the sugar, oat flour, lemon zest, and vanilla to the bowl and mix for 1 minute. Add the ricotta and mix it in gently on low speed. Scoop about ⅓ cup (68g) of the mixture into each muffin cup.
Bake the cheesecakes for 25 minutes, or until they’ve set. Let them cool in the pan and then refrigerate the cheesecakes for at least 4 hours.
To make the strawberry purée, place the strawberries and confectioners’ sugar in the bowl of a food processor and process until puréed. (Add water, a teaspoon at a time, if the strawberries are not very ripe and the mixture seems too dry.)
Serve the mini cheesecakes with a spoonful of strawberry purée on top or on the side. Garnish with sliced fresh strawberries, or other berries, if desired.